Have you ever been working in a massive spreadsheet and lost track of your headers the second you started scrolling? 📜 It is incredibly frustrating to lose your place when you are trying to analyze data! 😩 Whether you are managing a budget or a massive data set, keeping those headers visible is key.
In my latest video tutorial, I am showing you exactly how to fix this by freezing rows and columns in Google Sheets. I cover two different methods: the official menu system and a “secret” shortcut that is much faster. 🚀
Method 1: The Official Menu System 🛠️
The most common way to freeze rows or columns is through the built-in menu. This method is great for precision.
- Select your row or column: For example, if your months are on row 3, click the number 3 to highlight it. ✅
- Navigate to View: Go to the top menu, select View, and hover over Freeze. 🔒
- Choose your limit: You can freeze one row, two rows, or “Up to row 3” (or whichever row you selected).
This ensures that as you scroll through your budget or data, those important headers follow you down the page! 🖱️
Method 2: The Secret Shortcut (The Fast Way) ⚡
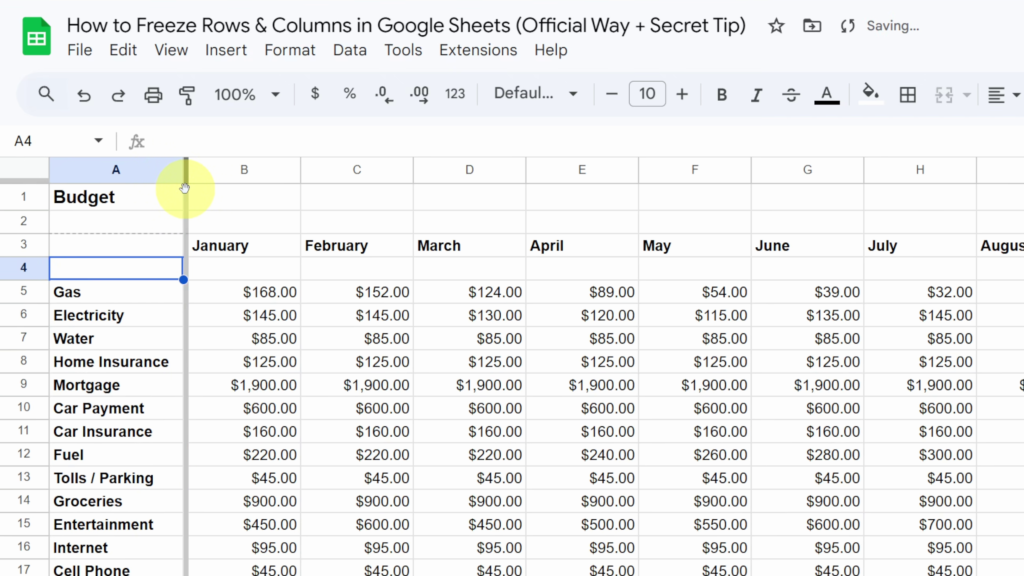
If you are in a hurry, there is a much quicker way to do this that many people miss! If you look at the very top left-hand corner of your spreadsheet (where the blank square is above the row numbers), you will see some thick gray bars. 🔘
When you hover your mouse over these bars, a little hand icon will appear. 👋 You can simply grab those bars and slide them exactly where you want them! While it doesn’t give you as many menu options, it is a lightning-fast way to freeze an area of your document on the fly. 🏃♂️💨
Watch the Full Tutorial 🎥
Want to see these methods in action? I walk through both steps using a mock budget so you can see exactly how it works. Check out the full step-by-step walkthrough in my video below:
Watch here: https://youtu.be/31WnIJJnr0w 🔗
By using these tips, you can manage your data more effectively and stop wasting time scrolling back and forth! 📈🙌