Have you ever captured several video clips and wondered how to combine them into one file? 🎥
If you are using Windows 11, there is a built-in editor already on your system. It is called Microsoft Clipchamp. It is a simple tool for beginners or anyone looking to get started with the basics of video editing without downloading extra software. 🎬✂️
In this guide, I will show you how to use this built-in tool to merge your clips, add transitions, and export your video without any watermarks. 🌟
Step 1: Opening the Built-In Editor
To find it, go to your Start Menu. You can scroll down to the letter “M” or just type “Clipchamp” into the search bar. 🔍
- Note: If it is missing for some reason, you can get it for free from the Microsoft Store. 📥
Once the app is open, click “Create a new video” to start your project. 🚀
Step 2: Importing Your Media
There are two easy ways to get your clips into the editor:
- Click the “Import media” button at the top left. 📂
- Just drag and drop your files from your desktop into the media area on the left side. 🖱️
Step 3: Organizing the Timeline
Now, grab your clips and drag them down to the timeline at the bottom. Put them in the order you want them to play. 🎞️
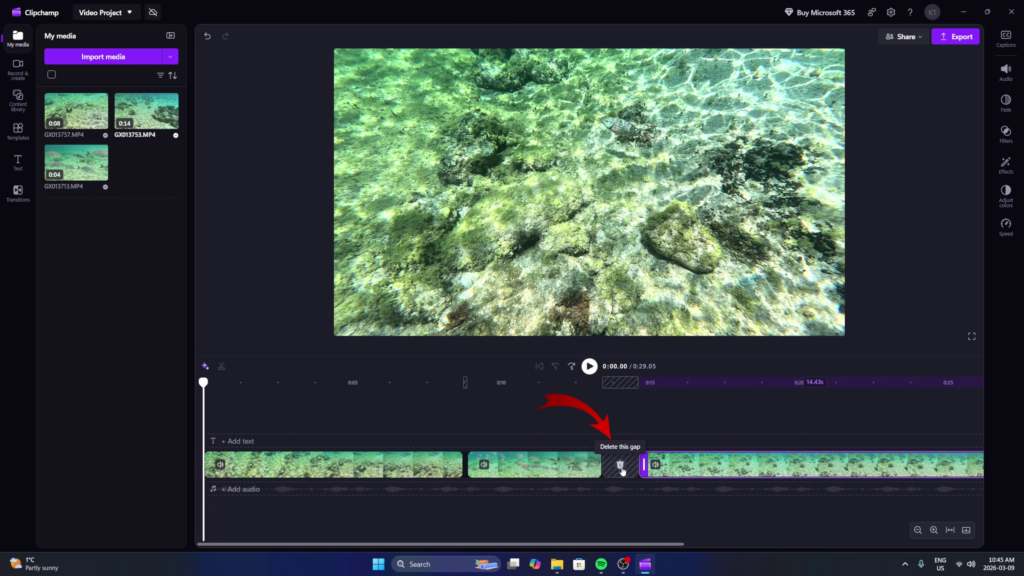
If there are gaps between your clips, you can click the garbage can icon in the space to remove them. You can also slide the clips together until they snap into place. ✅
Step 4: Trimming and Transitions
To clean up your video, you can make a few basic adjustments:
- Trimming: Click a clip to highlight it in purple. Use the white handles on the edges to cut off the start or the end. ✂️
- Transitions: Go to the Transitions tab on the left. You can drag a “Crossfade” or another simple transition and drop it right between two clips. ✨
Step 5: Exporting Your Video
When you are finished, click the Export button in the top right. For a good balance of quality and size, choose 1080p. 📤
The editor will process the file and save it to your computer as an MP4. It is as simple as that! 💾
Watch the Full Step-by-Step Tutorial
To see exactly how I combined my snorkeling clips from Mexico using these steps, check out the full video below: