So you’ve just picked up the new DJI Osmo Action 6! Before you can head out and capture your first adventure, you need to get the basics sorted: installing the battery and the memory card.
While this might seem simple, the Osmo Action 6 has a specific battery door mechanism that can be a little tricky if you haven’t used it before. Plus, ensuring you insert the microSD card the right way and close the door properly is critical to maintaining the camera’s waterproof seal. You definitely don’t want to find that out the hard way underwater! 🌊
To help you get set up quickly and safely, I’ve created a short step-by-step video tutorial.
What You’ll Learn in the Video 🔎
In this guide, I walk you through the entire process close-up so you can follow along. You will learn:
✅ The Trick to the Door: Exactly how to locate and open the battery door mechanism without forcing it.
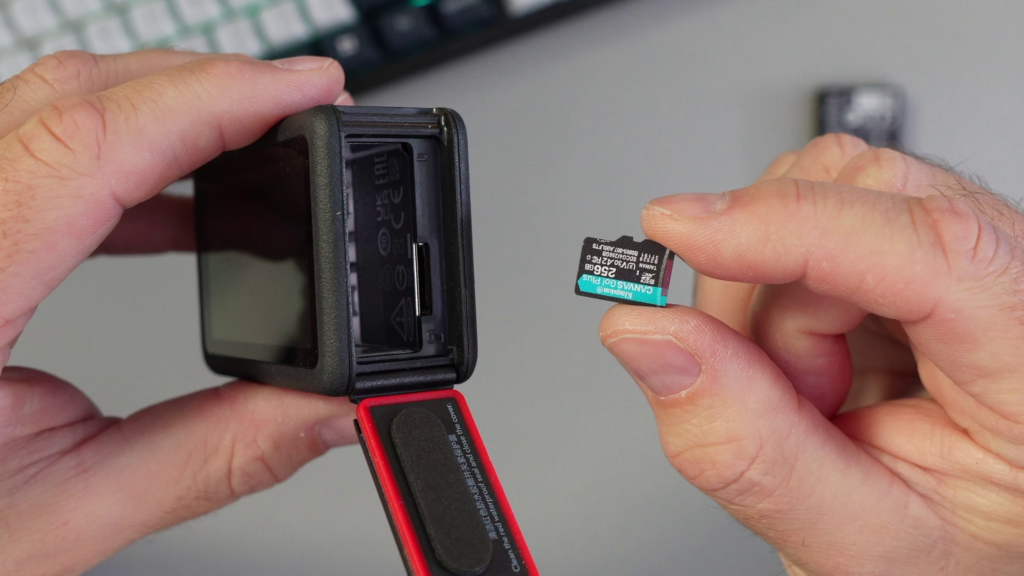
✅ MicroSD Orientation: Which way the tiny memory card needs to face so it clicks in perfectly the first time.
✅ Battery Installation: The correct direction to slide in the DJI Extreme Battery Plus.
✅ Waterproofing Check: How to securely close and lock the door to ensure your camera stays watertight.
Watch the full installation guide on YouTube! 👇 https://youtu.be/L184zMjxp28
Recommended Gear & Where to Buy (Affiliate) 🛒
If you need extra batteries or a fast memory card that can handle 4K recording, here are the ones I recommend and use.
- DJI Osmo Action 6: https://amzn.to/3XaAqvj
- Kingston Canvas Go Plus MicroSD (Highly Recommended): https://amzn.to/3Ks3NpT
- DJI Osmo Action Extreme Battery Plus: https://amzn.to/3JJIIaw
- DJI Osmo Action Multifunctional Battery Case: https://amzn.to/3MeAJmn
Disclaimer: The links above are affiliate links. As an Amazon Associate, I earn from qualifying purchases at no extra cost to you.