Retyping a long list of names into separate columns is a total waste of time. Whether you have ten names or ten thousand, Google Sheets has a built in tool that can handle the job in seconds. 🚀
In this guide, I will show you how to use the Split Text to Columns feature to clean up your contact lists without the manual data entry.
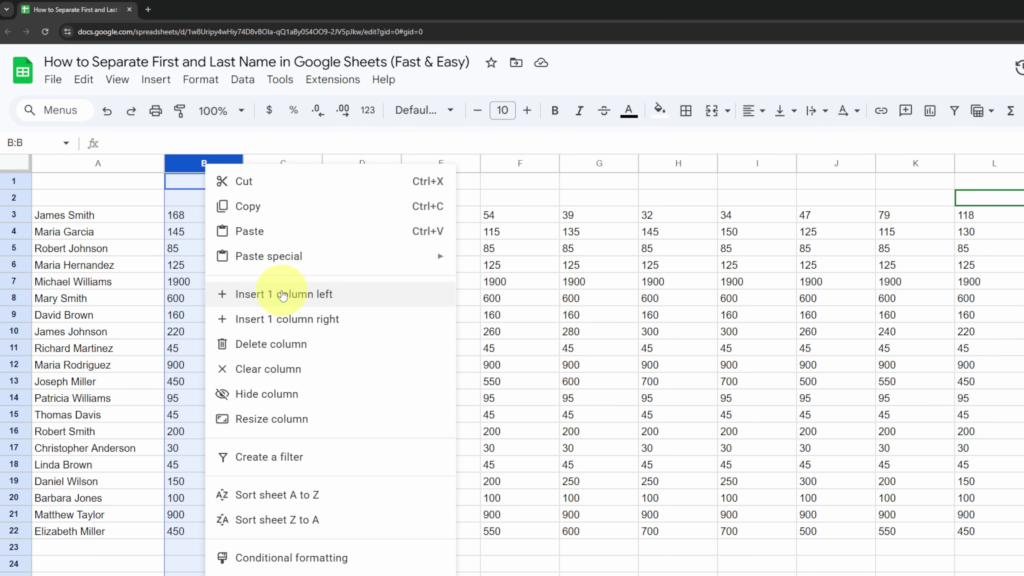
Step 1: Prepare Your Spreadsheet 🛠️
This is the most important step! If you do not have an empty column to the right of your names, Google Sheets will overwrite your existing data.
- Select the column immediately to the right of your names (e.g., Column B).
- Right click the column letter at the top and select Insert 1 column to the left. ⬅️
- You now have a blank space for those last names to land.
Step 2: Highlight and Split ✨
Now that you have space, let’s move the data.
- Highlight all the names you want to separate. 🖱️
- Head up to the top menu and select Data.
- Choose Split text to columns.
Step 3: Choose Your Separator 🔍
A small menu will appear at the bottom of your selection called Separator. While Google Sheets can sometimes “Detect automatically,” it is best to be specific:
- Space: Select this if your names are written as “John Smith.” This is the most common setting for name lists. ✅
- Comma: Use this if your list is formatted as “Smith, John.”
- Semicolon/Period: Use these if your data was exported from a different system with those specific dividers.
Once you select Space, you will see all the last names instantly jump into that new column you created! 🎊
Watch the Full Tutorial 🎥
Want to see exactly how to insert that column and run the tool? Check out the full video walk-through here:
Watch: How to Separate First and Last Names in Google Sheets 📺