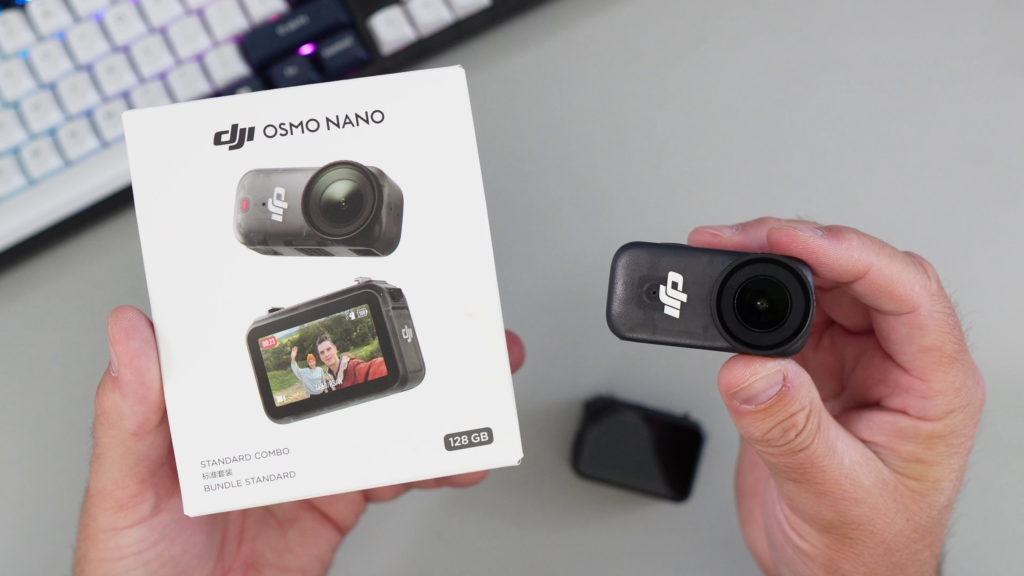
Congratulations on getting your hands on the incredible new DJI Osmo Nano! 🎉 It’s a powerful little camera, but before you can start capturing amazing 4K footage, there are a few crucial setup steps. You’ll need to activate the camera so you can use it, and then update the firmware to ensure you have the best performance and latest features.
If you’re wondering where to start, we’ve got you covered. To make the process as simple as possible, we’ve created a complete, step-by-step video tutorial that walks you through everything.
What Our Setup Guide Covers 🔎
Our video is a detailed walkthrough of the entire process from start to finish. In the guide, you will learn:
✅ How to connect the Osmo Nano to the Multifunctional Vision Dock. ✅ How to download and install the DJI Mimo app. ✅ The complete camera activation process. ✅ Updating the firmware to the latest version.
Watch the full step-by-step tutorial on YouTube! 👇 https://youtu.be/vRzhFiFs2Yc
The Setup Process at a Glance ✨
For those who like a quick checklist, the setup process involves four main stages:
- Connect Hardware: Attach the Osmo Nano to the Multifunctional Vision Dock and power it on.
- Install the App: Download the DJI Mimo app to your smartphone.
- Activate: Follow the on-screen prompts in the app to activate your camera.
- Update: Complete the crucial firmware update through the app to get the latest features.
For a clear visual walkthrough of all these steps, be sure to watch the full video guide!
Where to Buy (Affiliate) 🛒
Don’t have an Osmo Nano yet? You can find both versions on Amazon.
- DJI Osmo Nano (128GB): https://amzn.to/4gNe7F4
- DJI Osmo Nano (64GB): https://amzn.to/4pFWhYz