Want to trim a video on your Mac without downloading additional software? 🎬 With QuickTime Player, you can easily remove unwanted footage from the beginning or end of a video in just a few clicks.
QuickTime Player comes preinstalled on macOS, making it a convenient way to trim videos on your MacBook Air, MacBook Pro, iMac, or Mac mini.
🎥 Watch the Video Tutorial
Follow along with my quick step-by-step tutorial showing how to trim a video using QuickTime Player on Mac.
▶️ https://youtu.be/61Pspc5BGBs
✂️ How to Trim a Video Using QuickTime Player on Mac
Step 1: Open QuickTime Player
Open QuickTime Player from your Applications folder or Dock. Browse your Mac, select the video you want to trim, and click Open.
Step 2: Open the Trim Tool
With your video open, click Edit > Trim from the menu bar at the top of your screen. You can also use the keyboard shortcut Command + T.
Step 3: Adjust the Beginning and End of Your Video
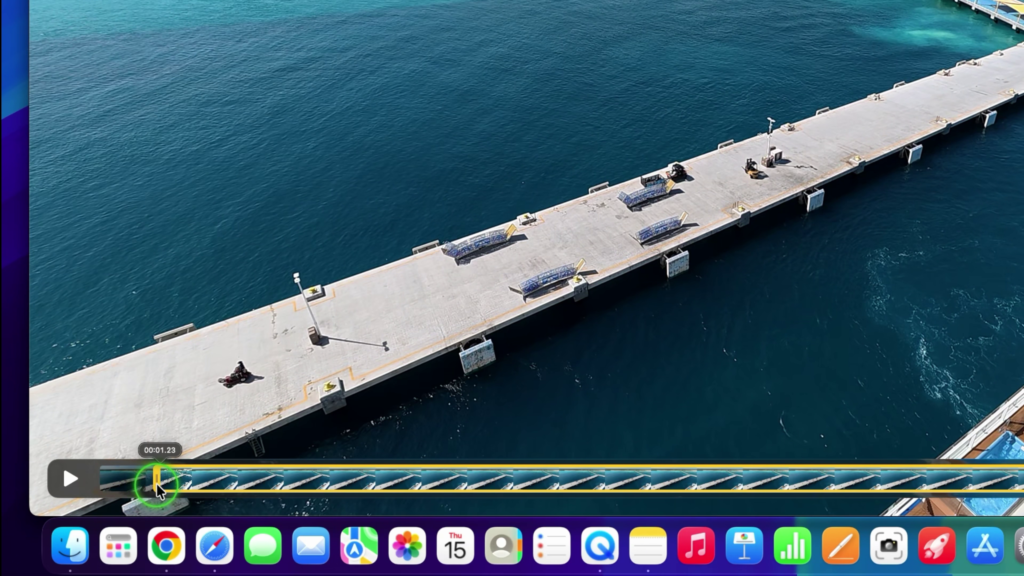
A yellow trimming bar will appear along the bottom of your video.
Click and drag the yellow handle on the left to remove unwanted footage from the beginning. You can also drag the handle on the right to trim footage from the end.
The section inside the yellow handles is the footage you’ll keep.
Step 4: Trim Your Video
Once you’re happy with your selection, click Trim in the bottom-right corner. QuickTime Player will remove the footage outside your selected range.
Step 5: Save Your Trimmed Video
Click File > Save, or press Command + S. Give your trimmed video a name, choose where you’d like to save it, and click Save.
That’s it! You’ve successfully trimmed a video on your Mac using QuickTime Player.
👍 Final Thoughts
QuickTime Player makes it easy to trim videos on Mac without installing additional video editing software. Whether you’re removing a shaky beginning, cutting off unwanted footage at the end, or shortening a video clip, the built-in Trim tool gets the job done quickly.