Have you ever recorded a video and realized the beginning is a bit slow, or there is extra footage at the end that you just don’t need? 🎬✂️ You don’t need to buy expensive editing software to fix it! If you are using Windows 11, you already have a powerful tool built right into your system called Microsoft Clipchamp.
In today’s guide, I’m going to walk you through the simple process of trimming your video clips for free. Let’s dive into it! 🚀
Step 1: Open Microsoft Clipchamp
To get started, head down to your Start Menu at the bottom of your screen. If you have the list view on, just scroll down to the letter M and you should see Microsoft Clipchamp. 💻
Note: If for some reason it isn’t on your PC, you can download it for free from the Microsoft Store.
Step 2: Create a New Project
Once the app loads, click on Create a new video (or “Start from scratch”). This will open up the editor interface. 🖱️
Step 3: Import Your Video
Now it’s time to bring in your footage. You can click the Import media button on the left to browse your files, or simply drag and drop your video file directly from your desktop into the editor. 📥
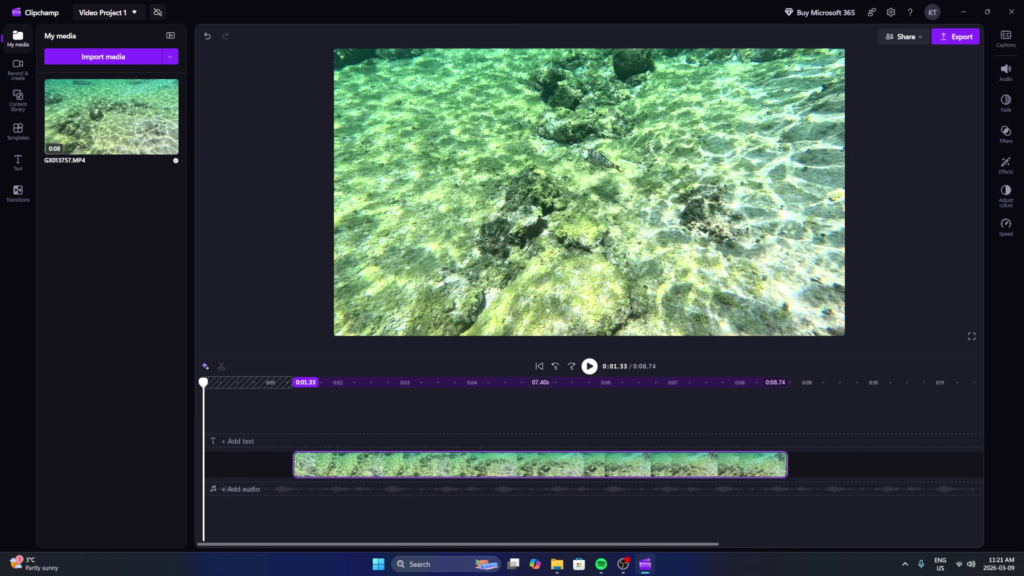
Step 4: Add to Timeline and Trim
To start editing, drag your clip from the media library down into the timeline at the bottom. 🎞️
- Select the clip: Left click on the video in the timeline so a purple border appears around it.
- Use the handles: You will see white bars (handles) on both the left and right sides of the clip.
- Trim the ends: Click and drag these handles inward to shorten the video to your desired length. 📏
- Close the gaps: If you trim the beginning, it might leave a black gap. Simply click the trash can icon (“Delete this gap”) that appears in that empty space to snap your video back to the start.
Step 5: Export Your Trimmed Video
Once your video looks perfect in the preview window, it’s time to save it:
- Click the Export button in the top right corner. 📤
- Select 1080p for the best free quality.
- Give your project a name (like “Trimmed Video”).
- Toggle off “Store in the cloud” if you just want it on your PC.
- Hit Export and then select Save to computer to pick your destination, like your desktop.
That’s all there is to it! You now have a perfectly trimmed video without any watermarks or extra costs. 🌟
Check out the full video tutorial here for a visual walkthrough: Watch on YouTube 📺